014. Photography Tips: Long Exposures for Moving Water
Regular photo (left) / Long exposure (right)
The examples above compare a regular photo of water (left) to long exposure photography (right). Notice how the water has a very “soft” look to it when you use long exposures!
This is a really easy effect to achieve. All you need is a camera that has the ability to have custom shutter speeds, and a way to stabilize the camera (really important).
I use a Canon 7D, but nowadays even some phones have the ability for custom settings that allow you to change your shutter speed and get a long exposure.
"Shutter speed" simply means how long the shutter is open on your camera (it's what makes the little clicking noise you hear when you take a photo).
This allows light to pass through, hitting the sensor, which captures light and translates that to the jpeg image you see. Pretty cool stuff!
Here are some examples of long exposures for moving water:
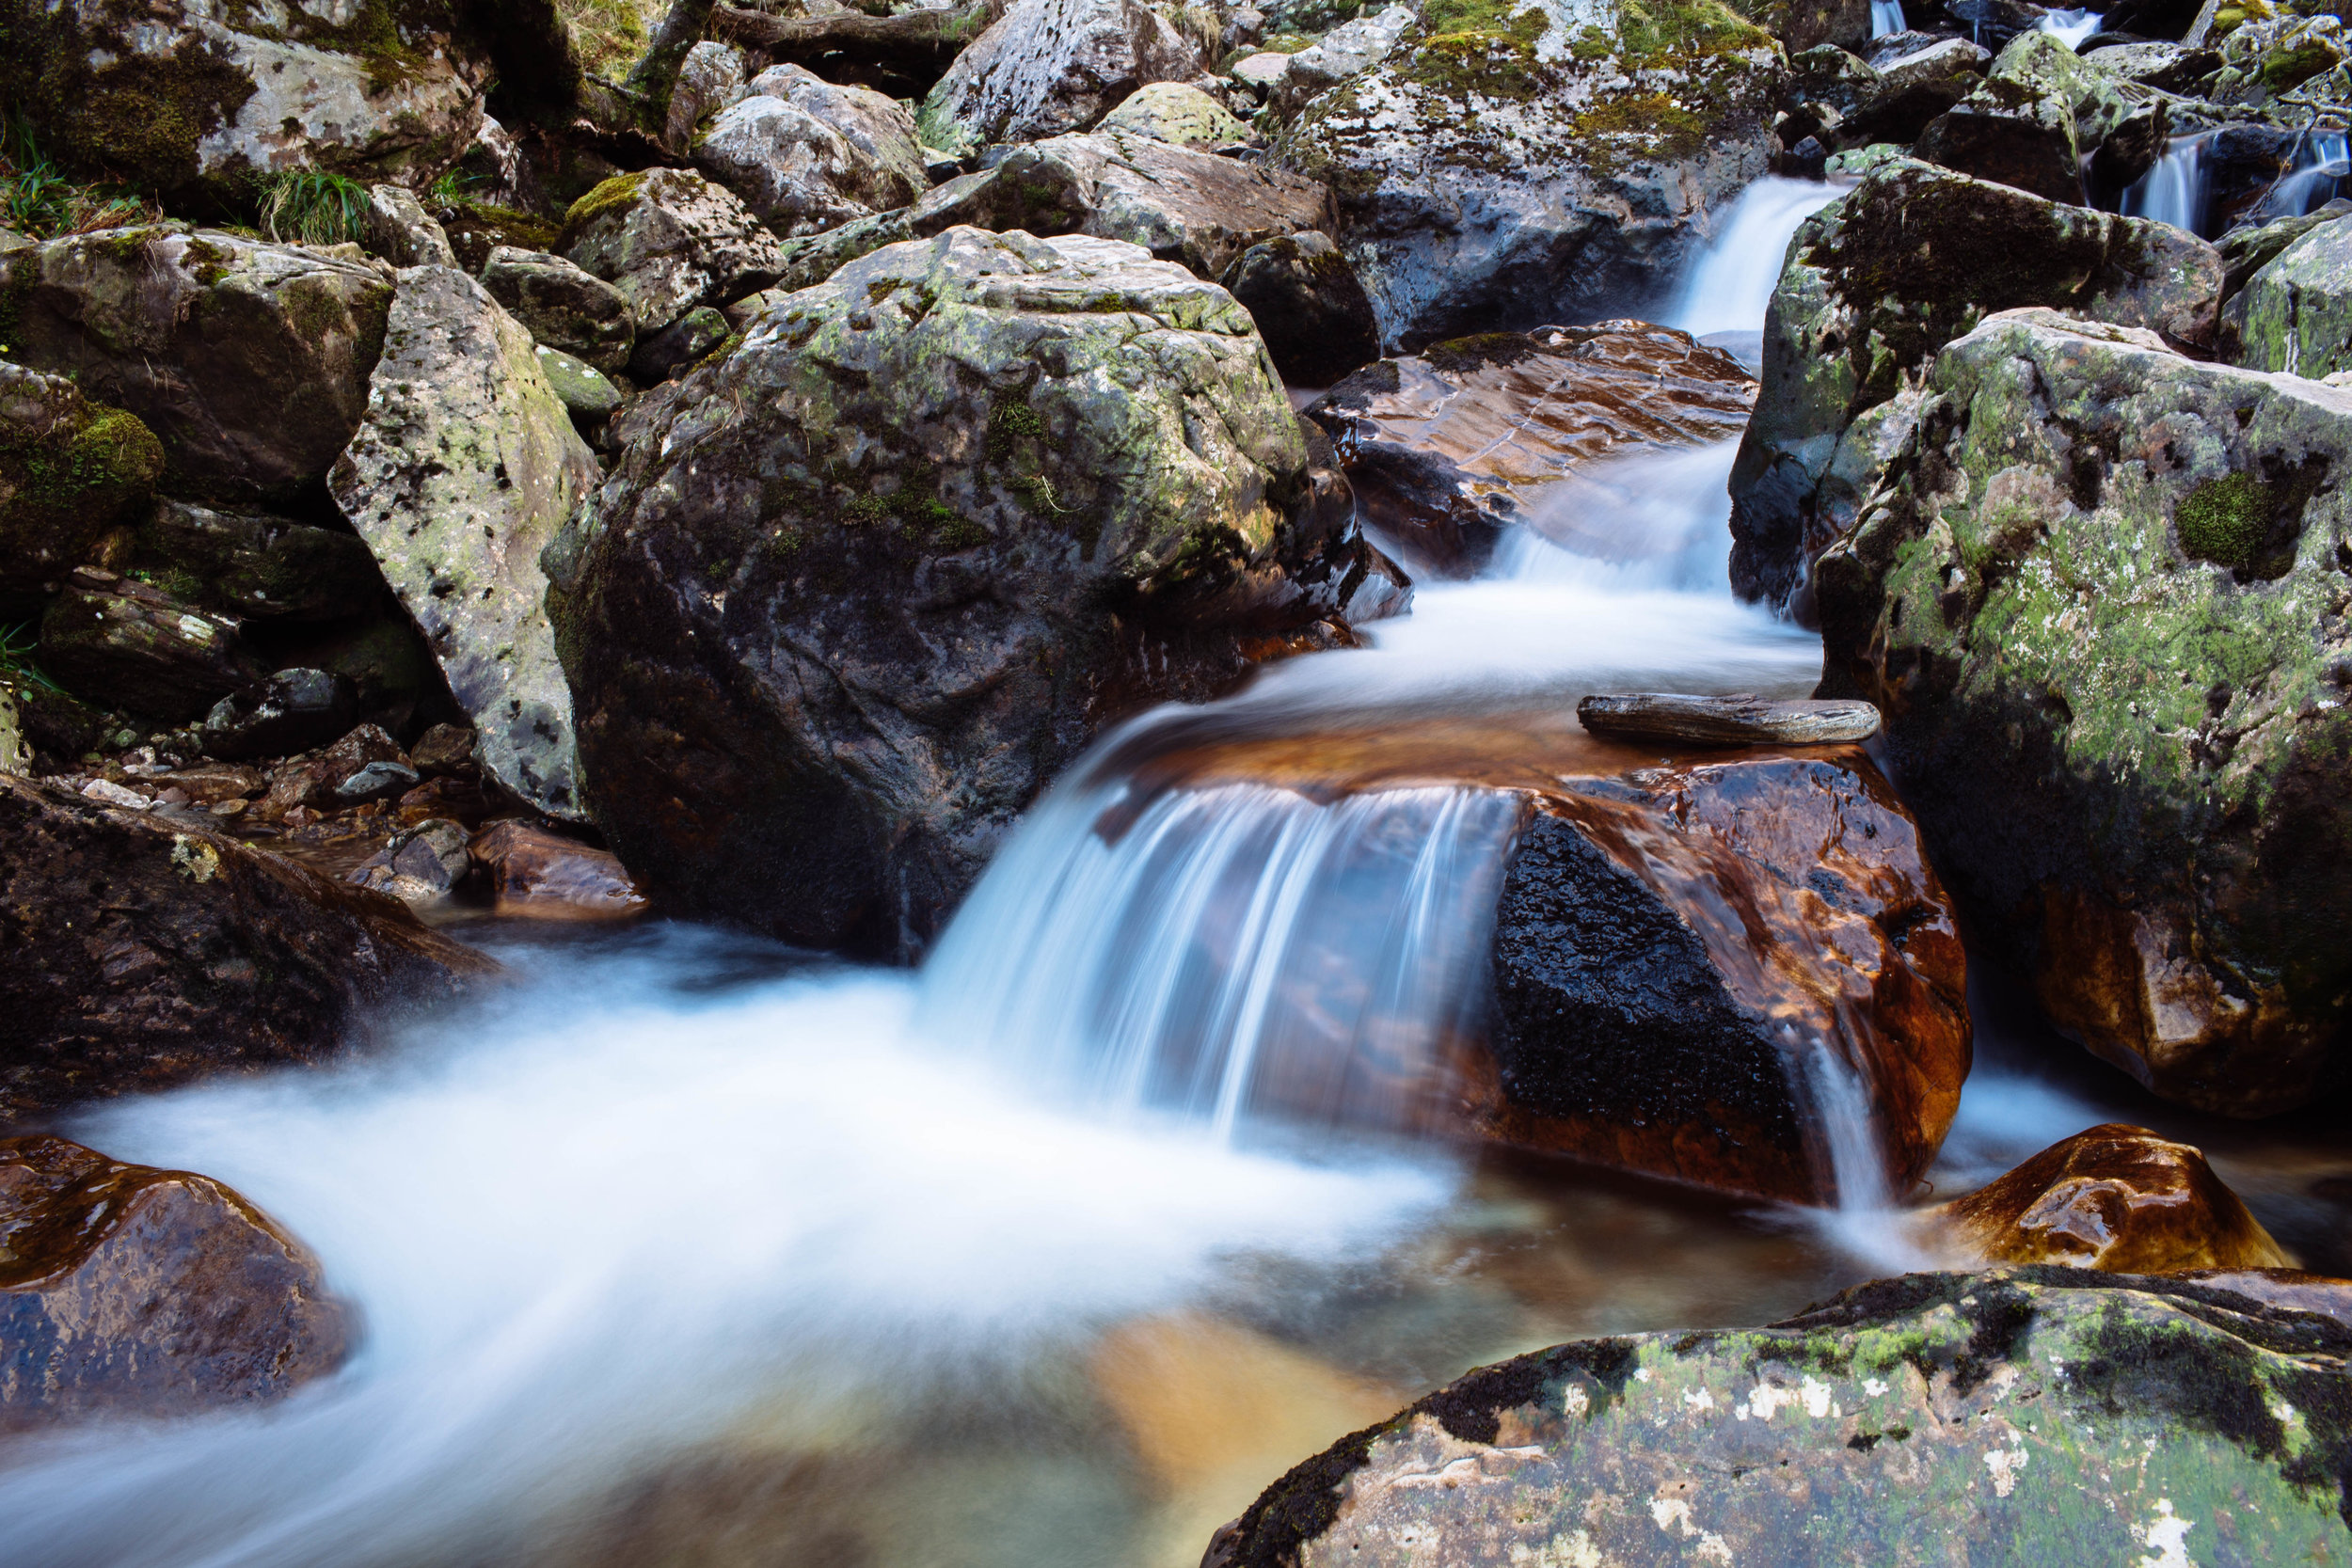
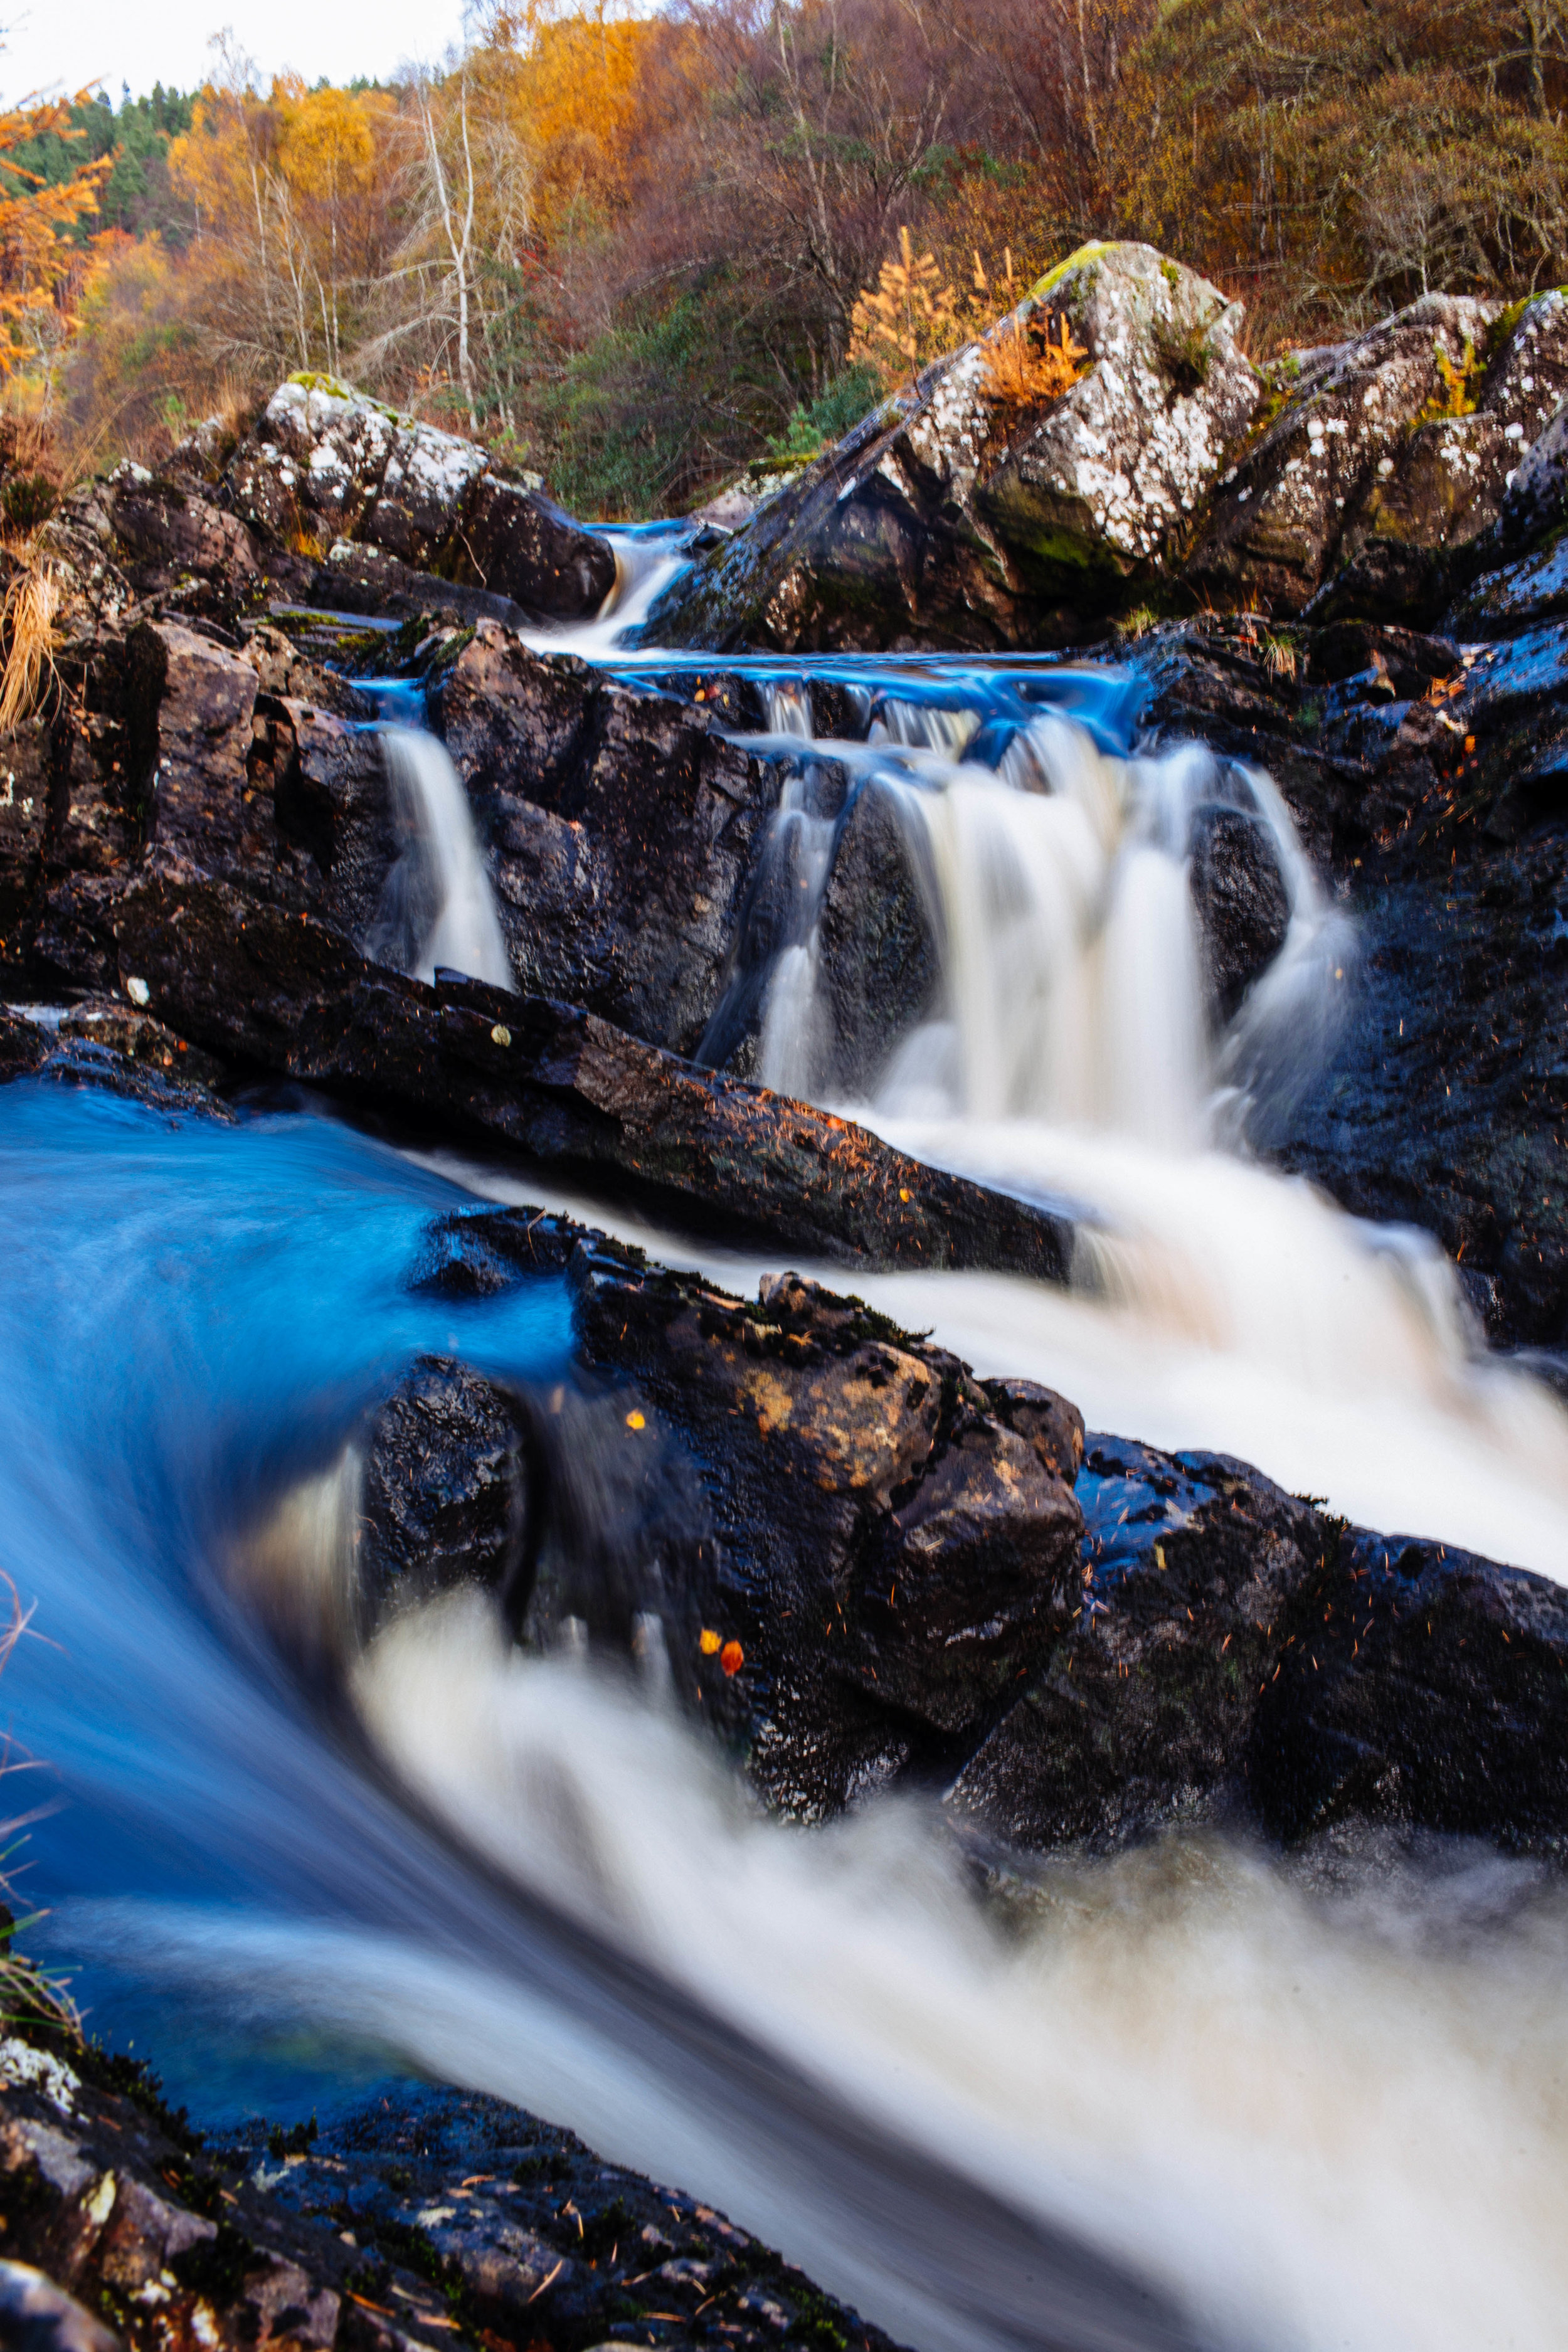
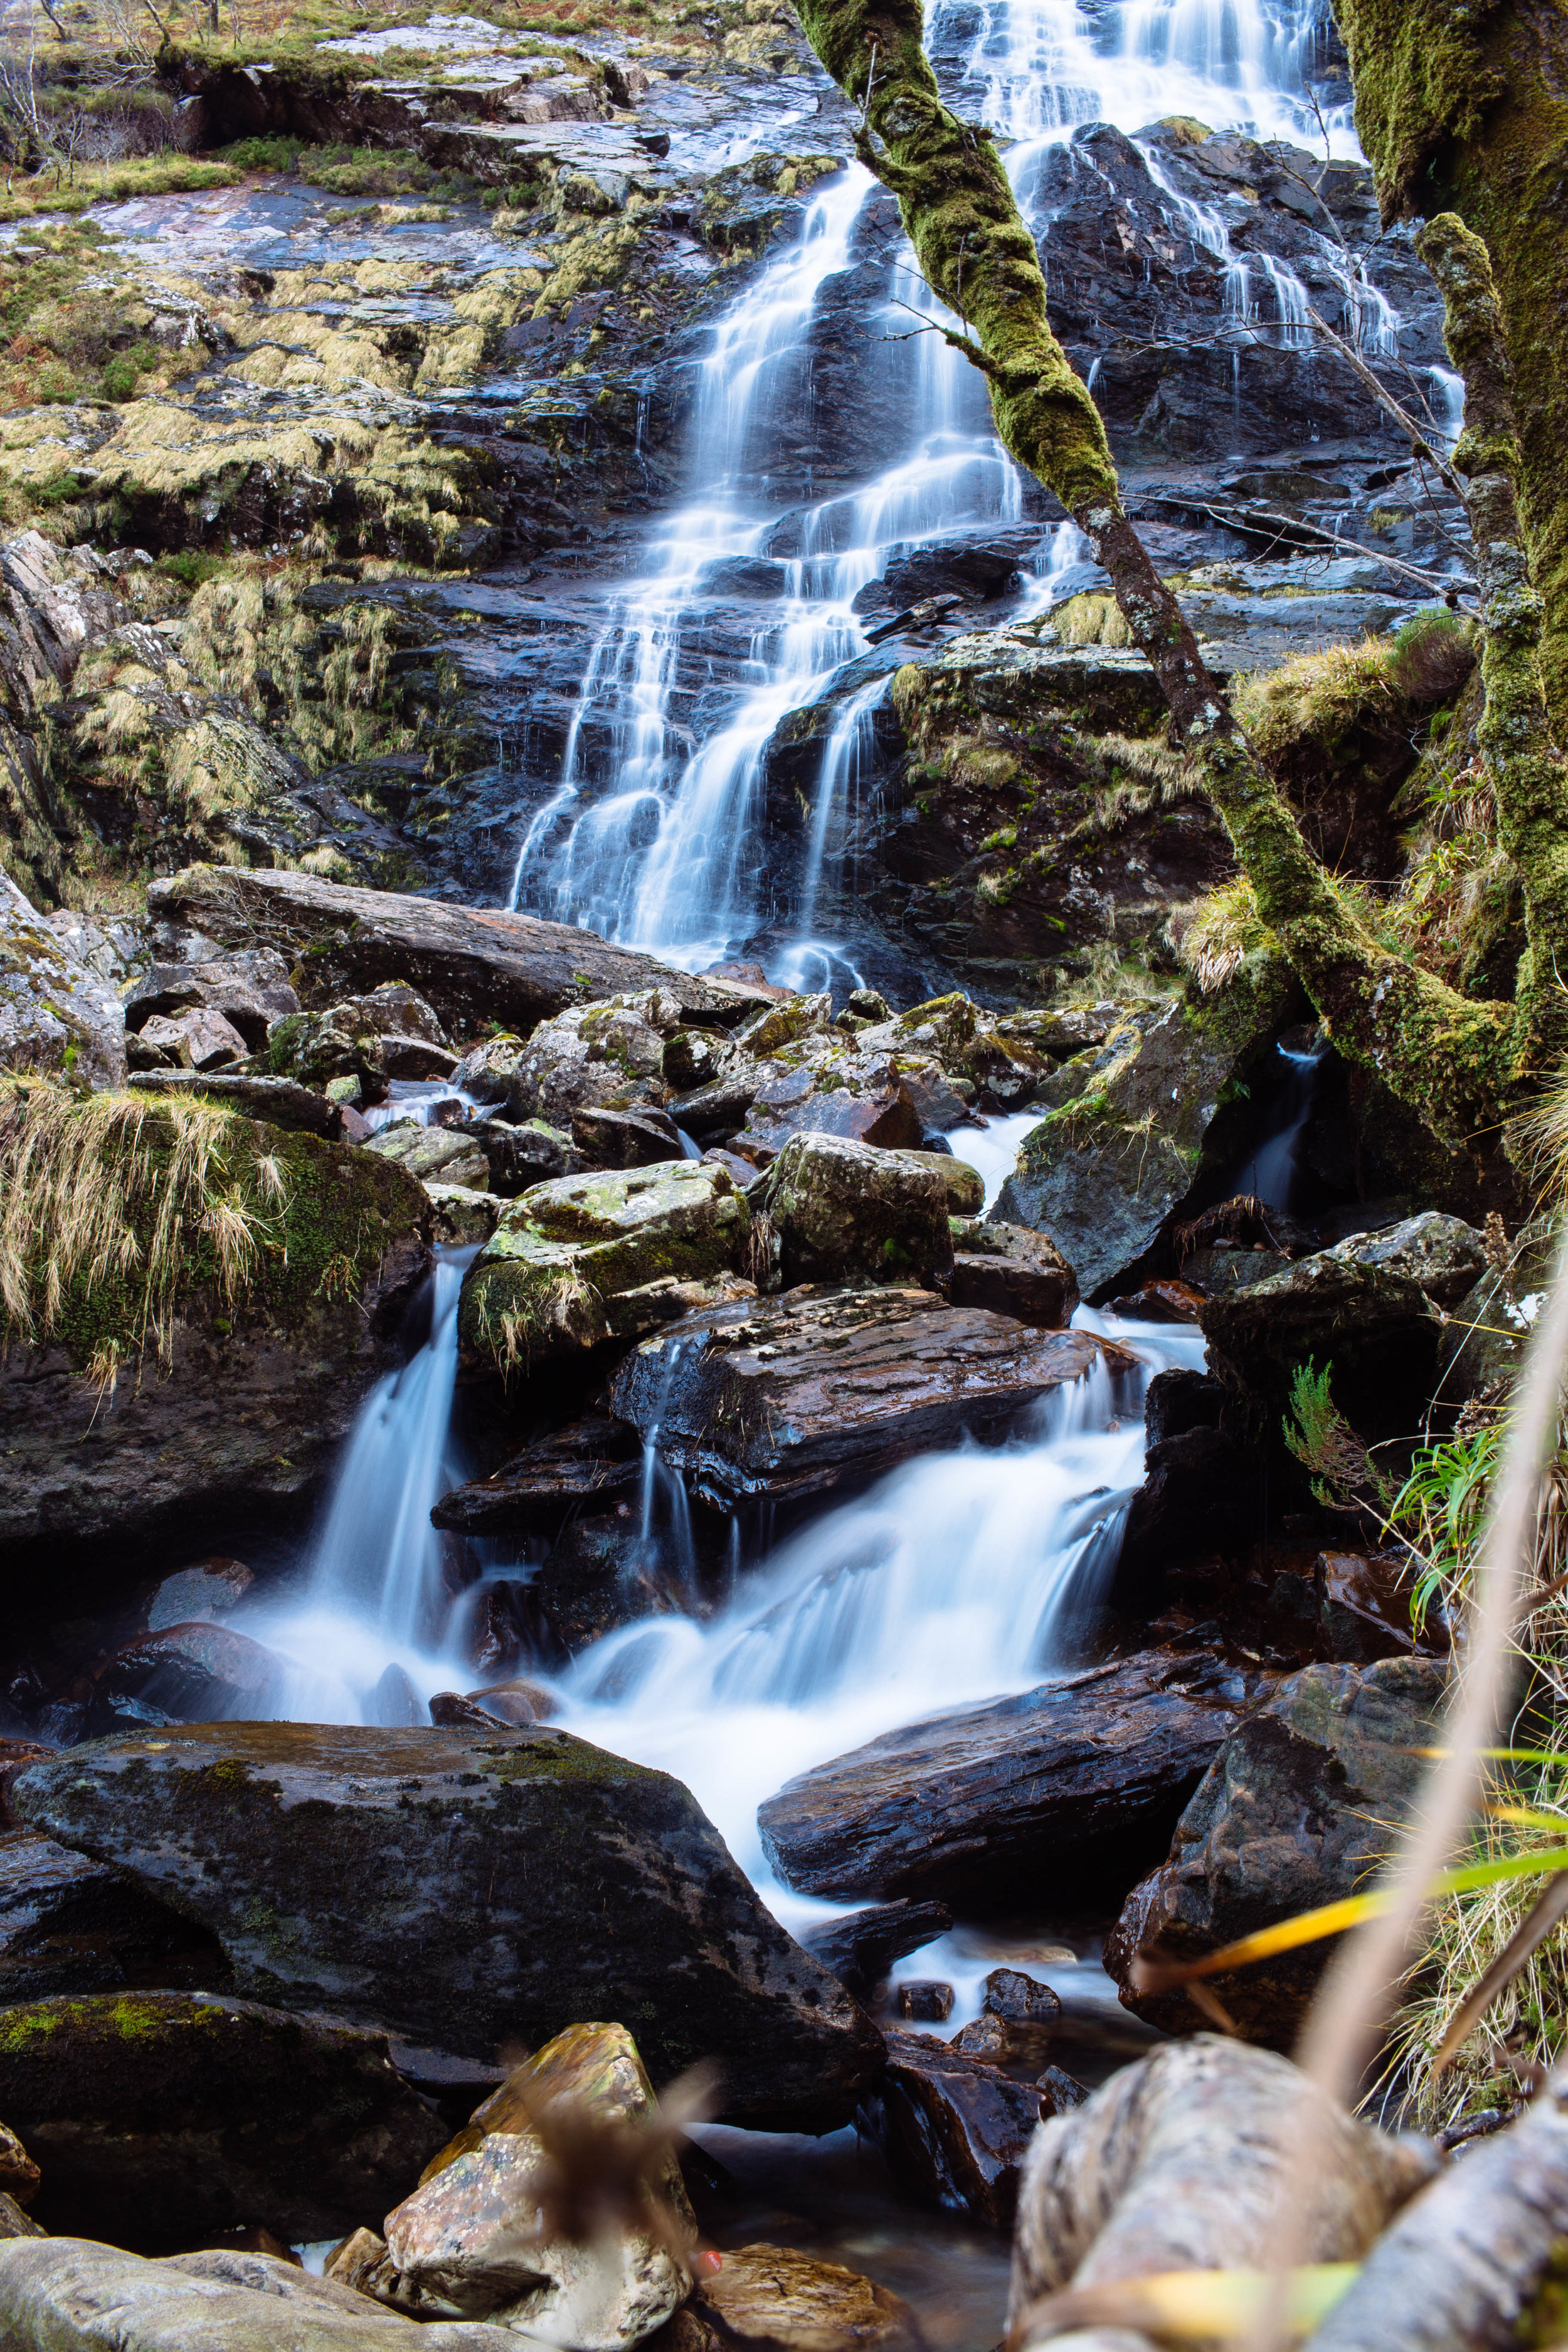
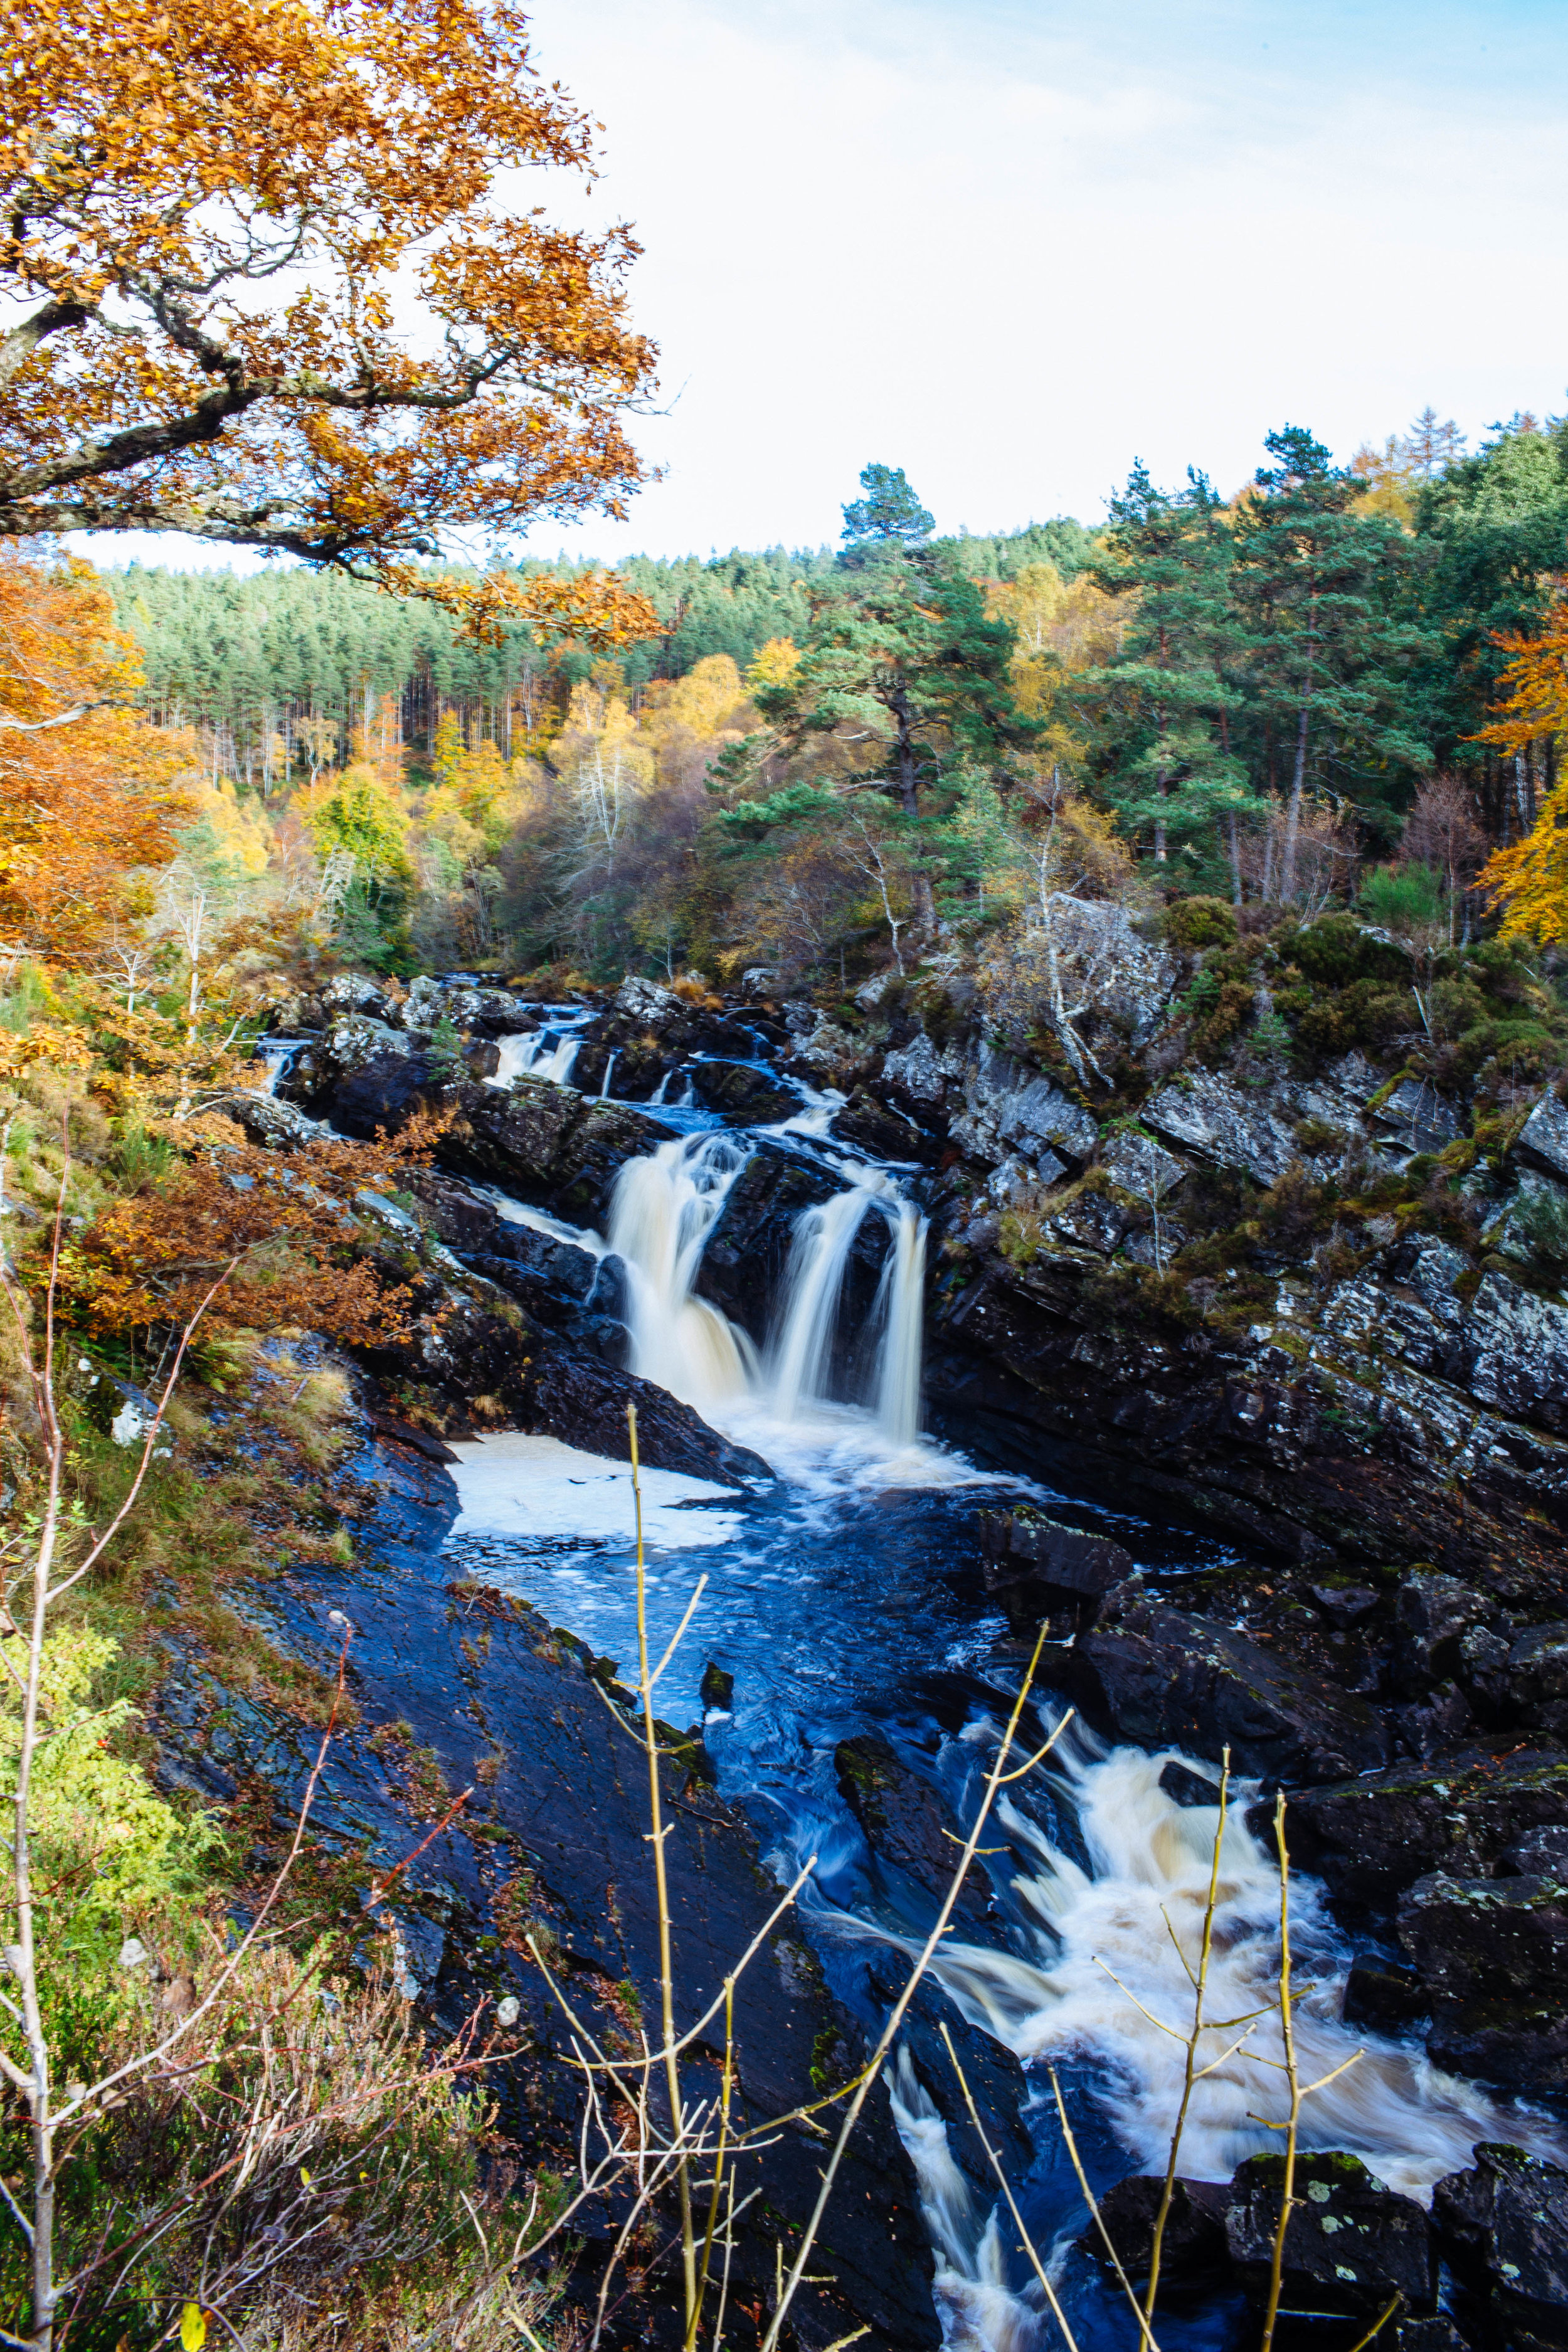
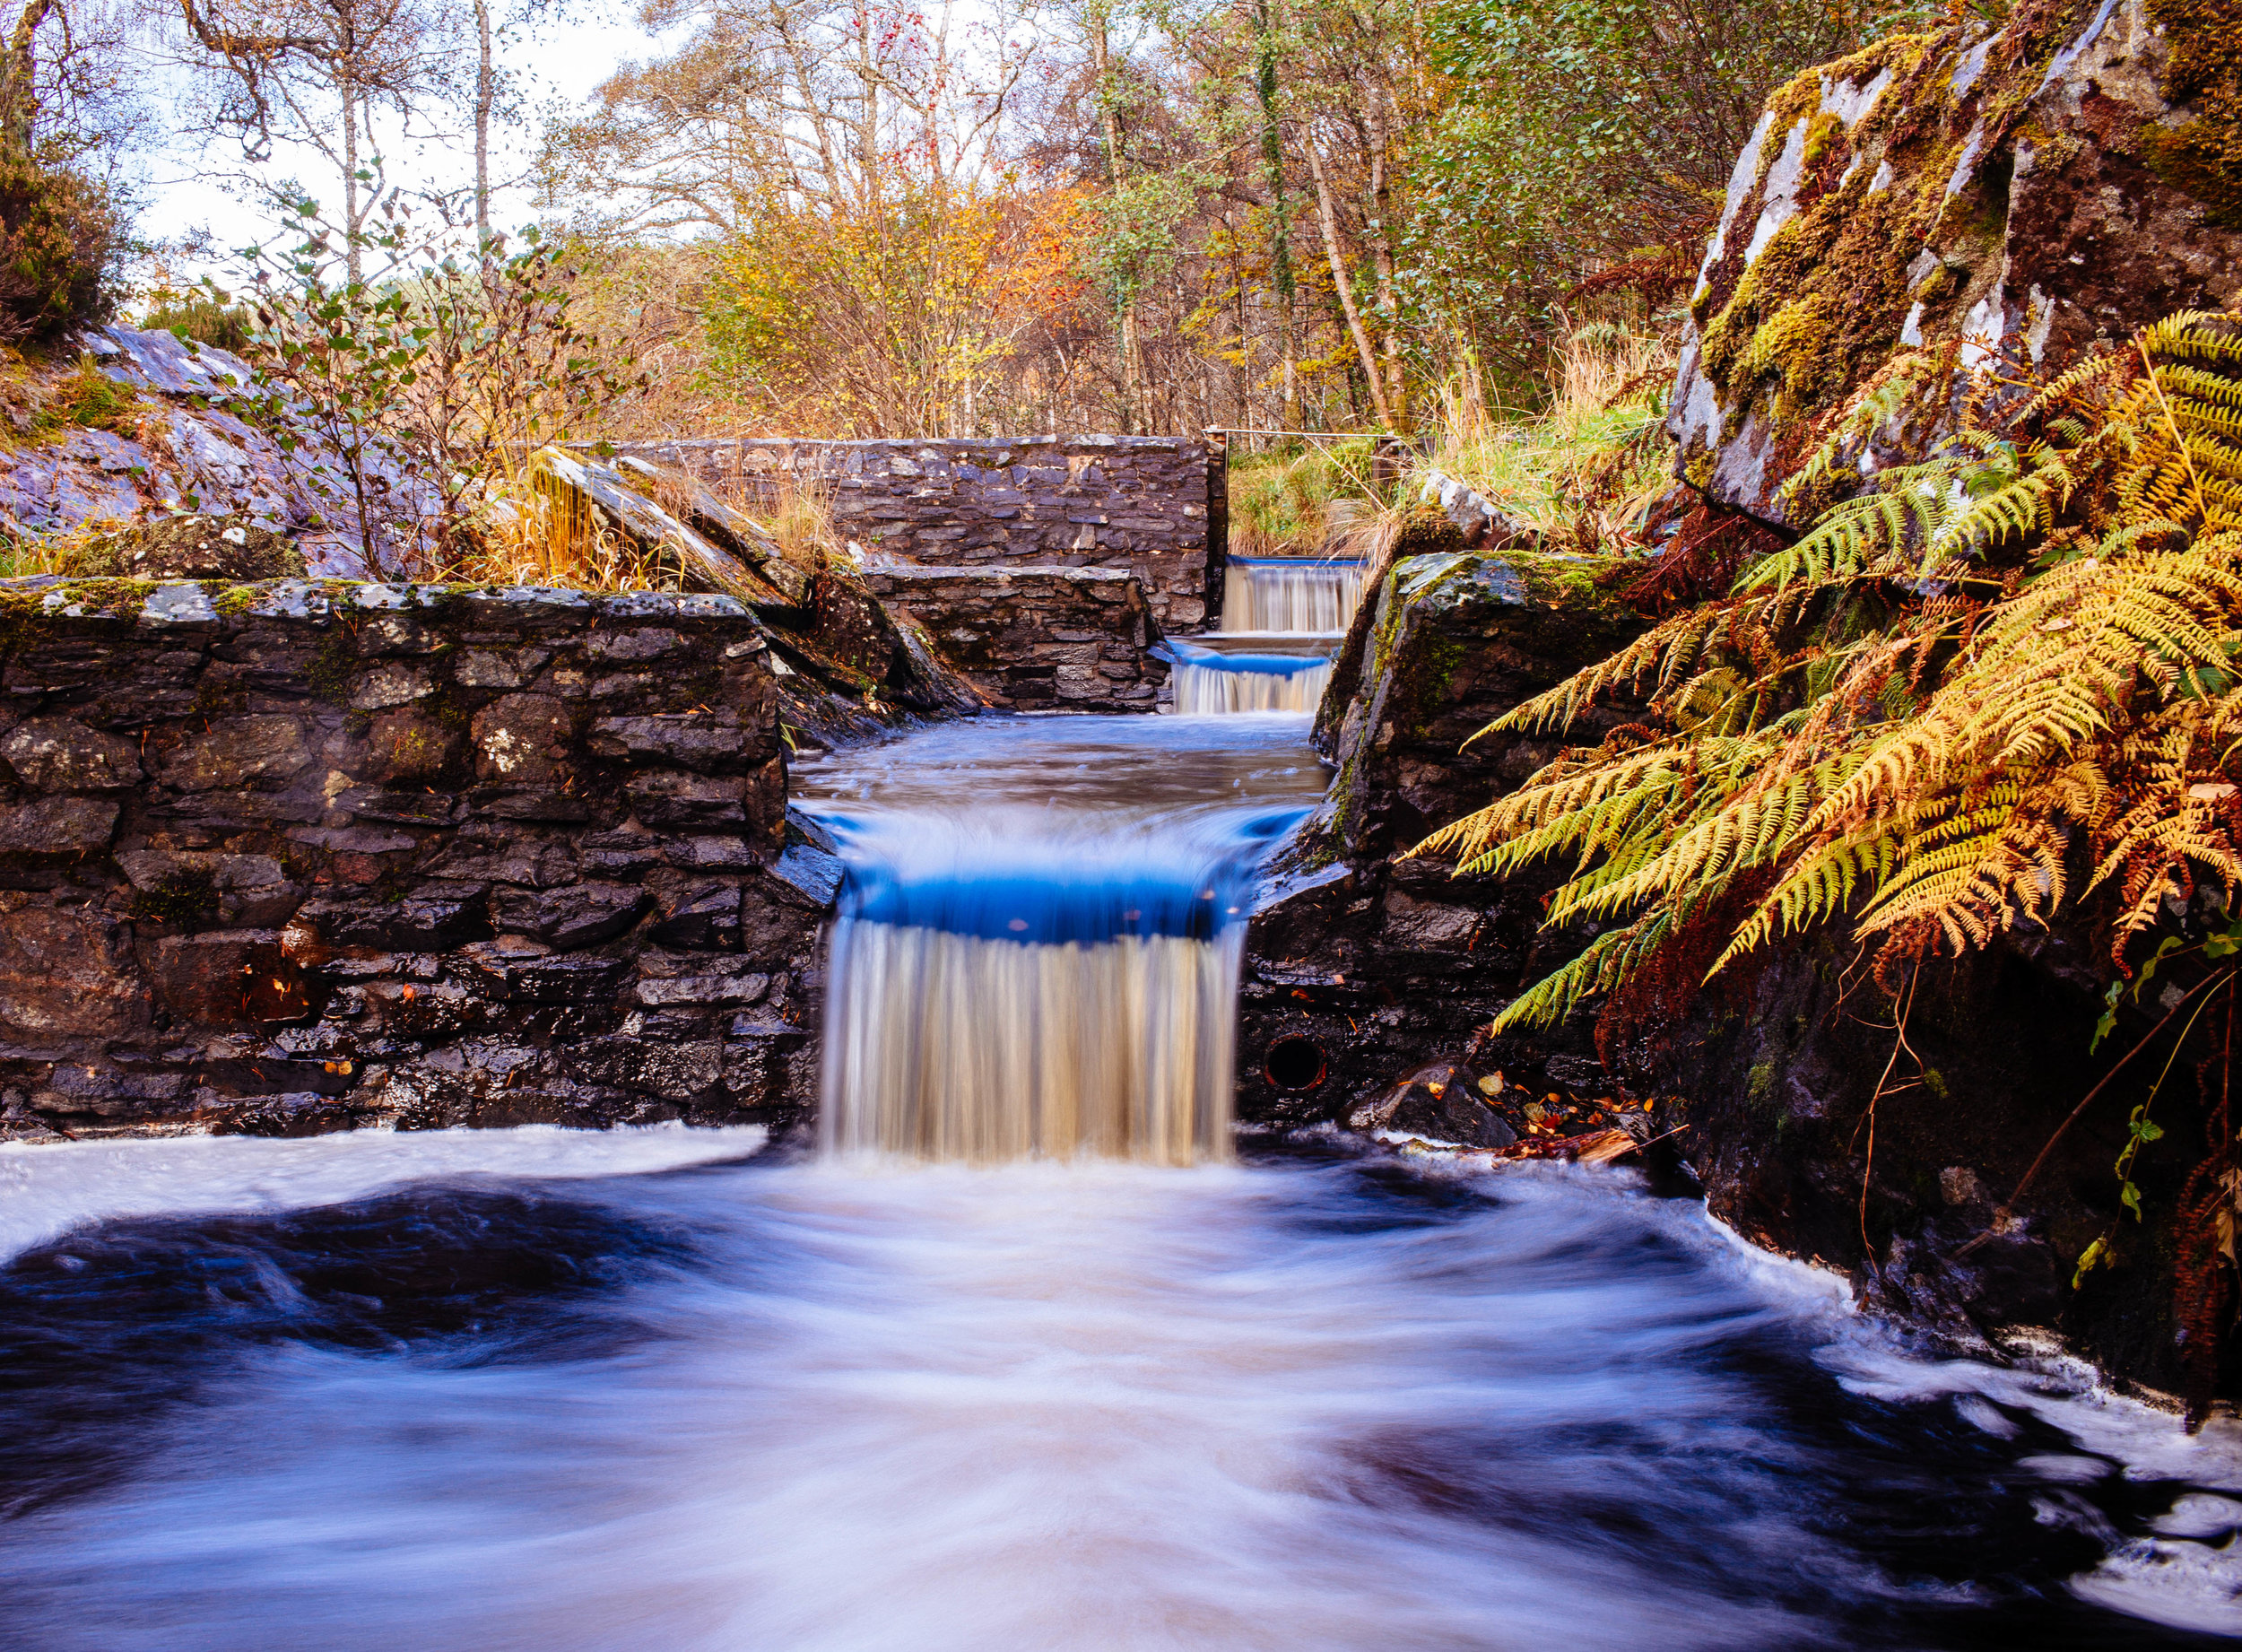
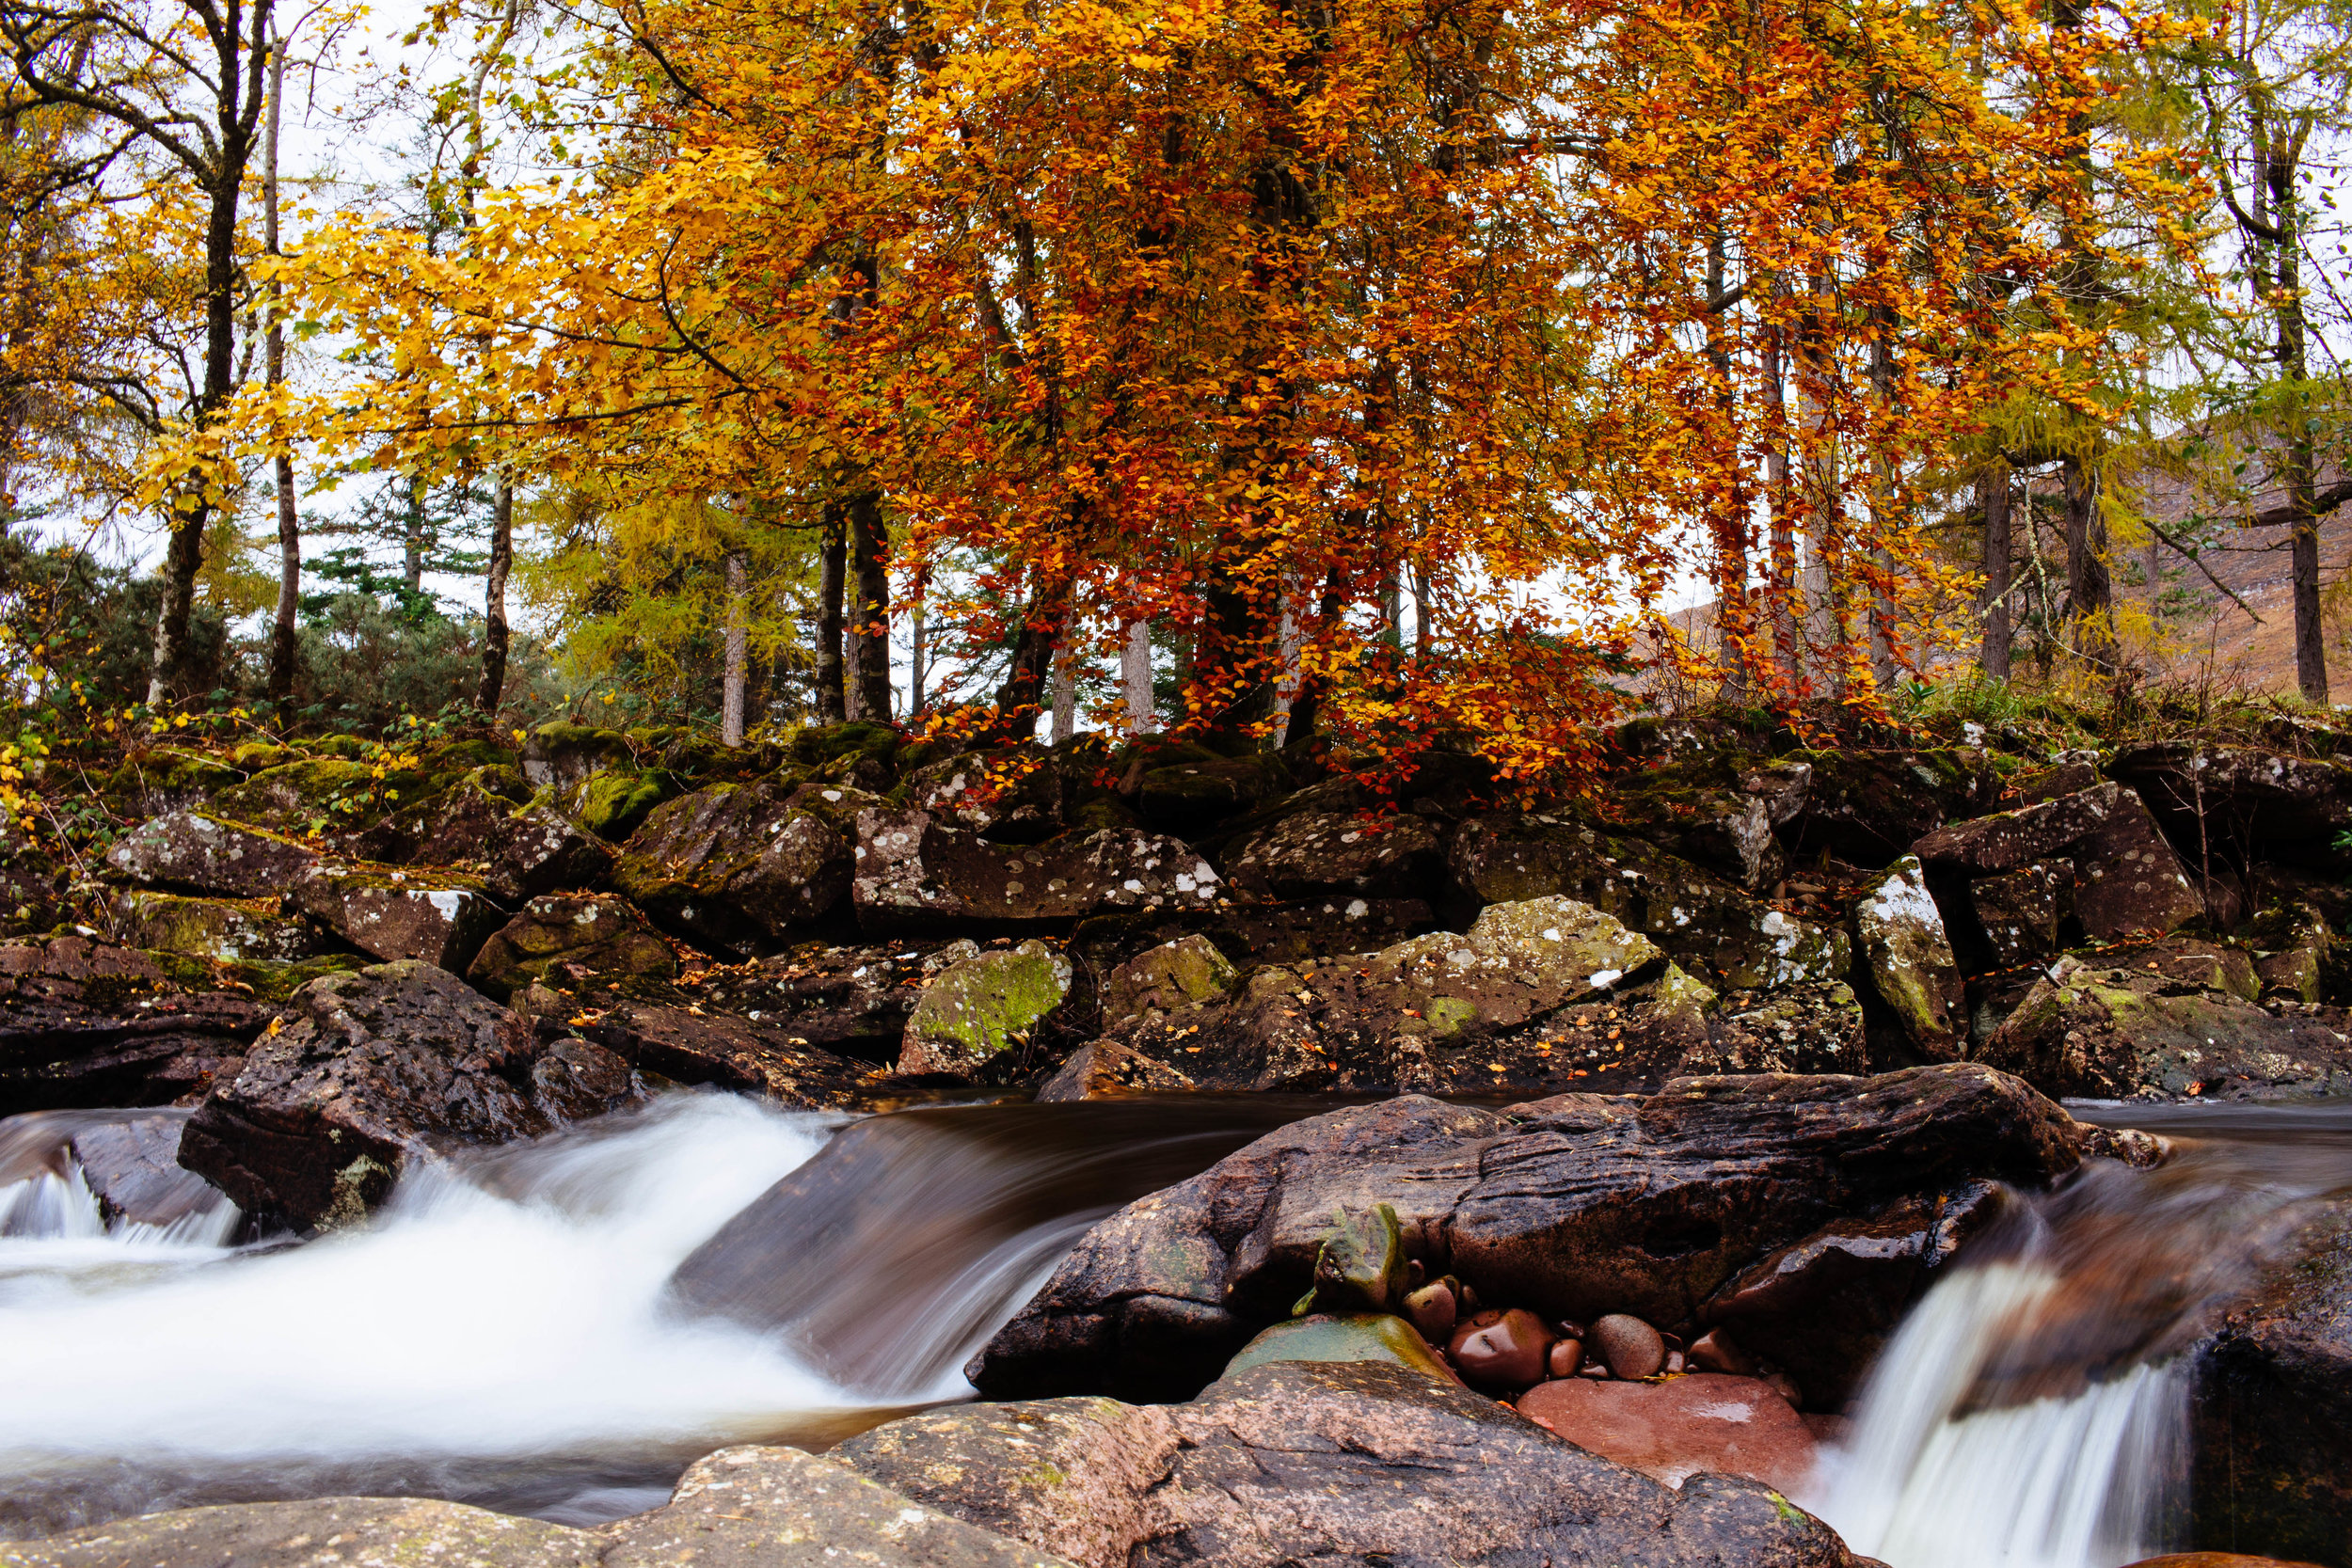
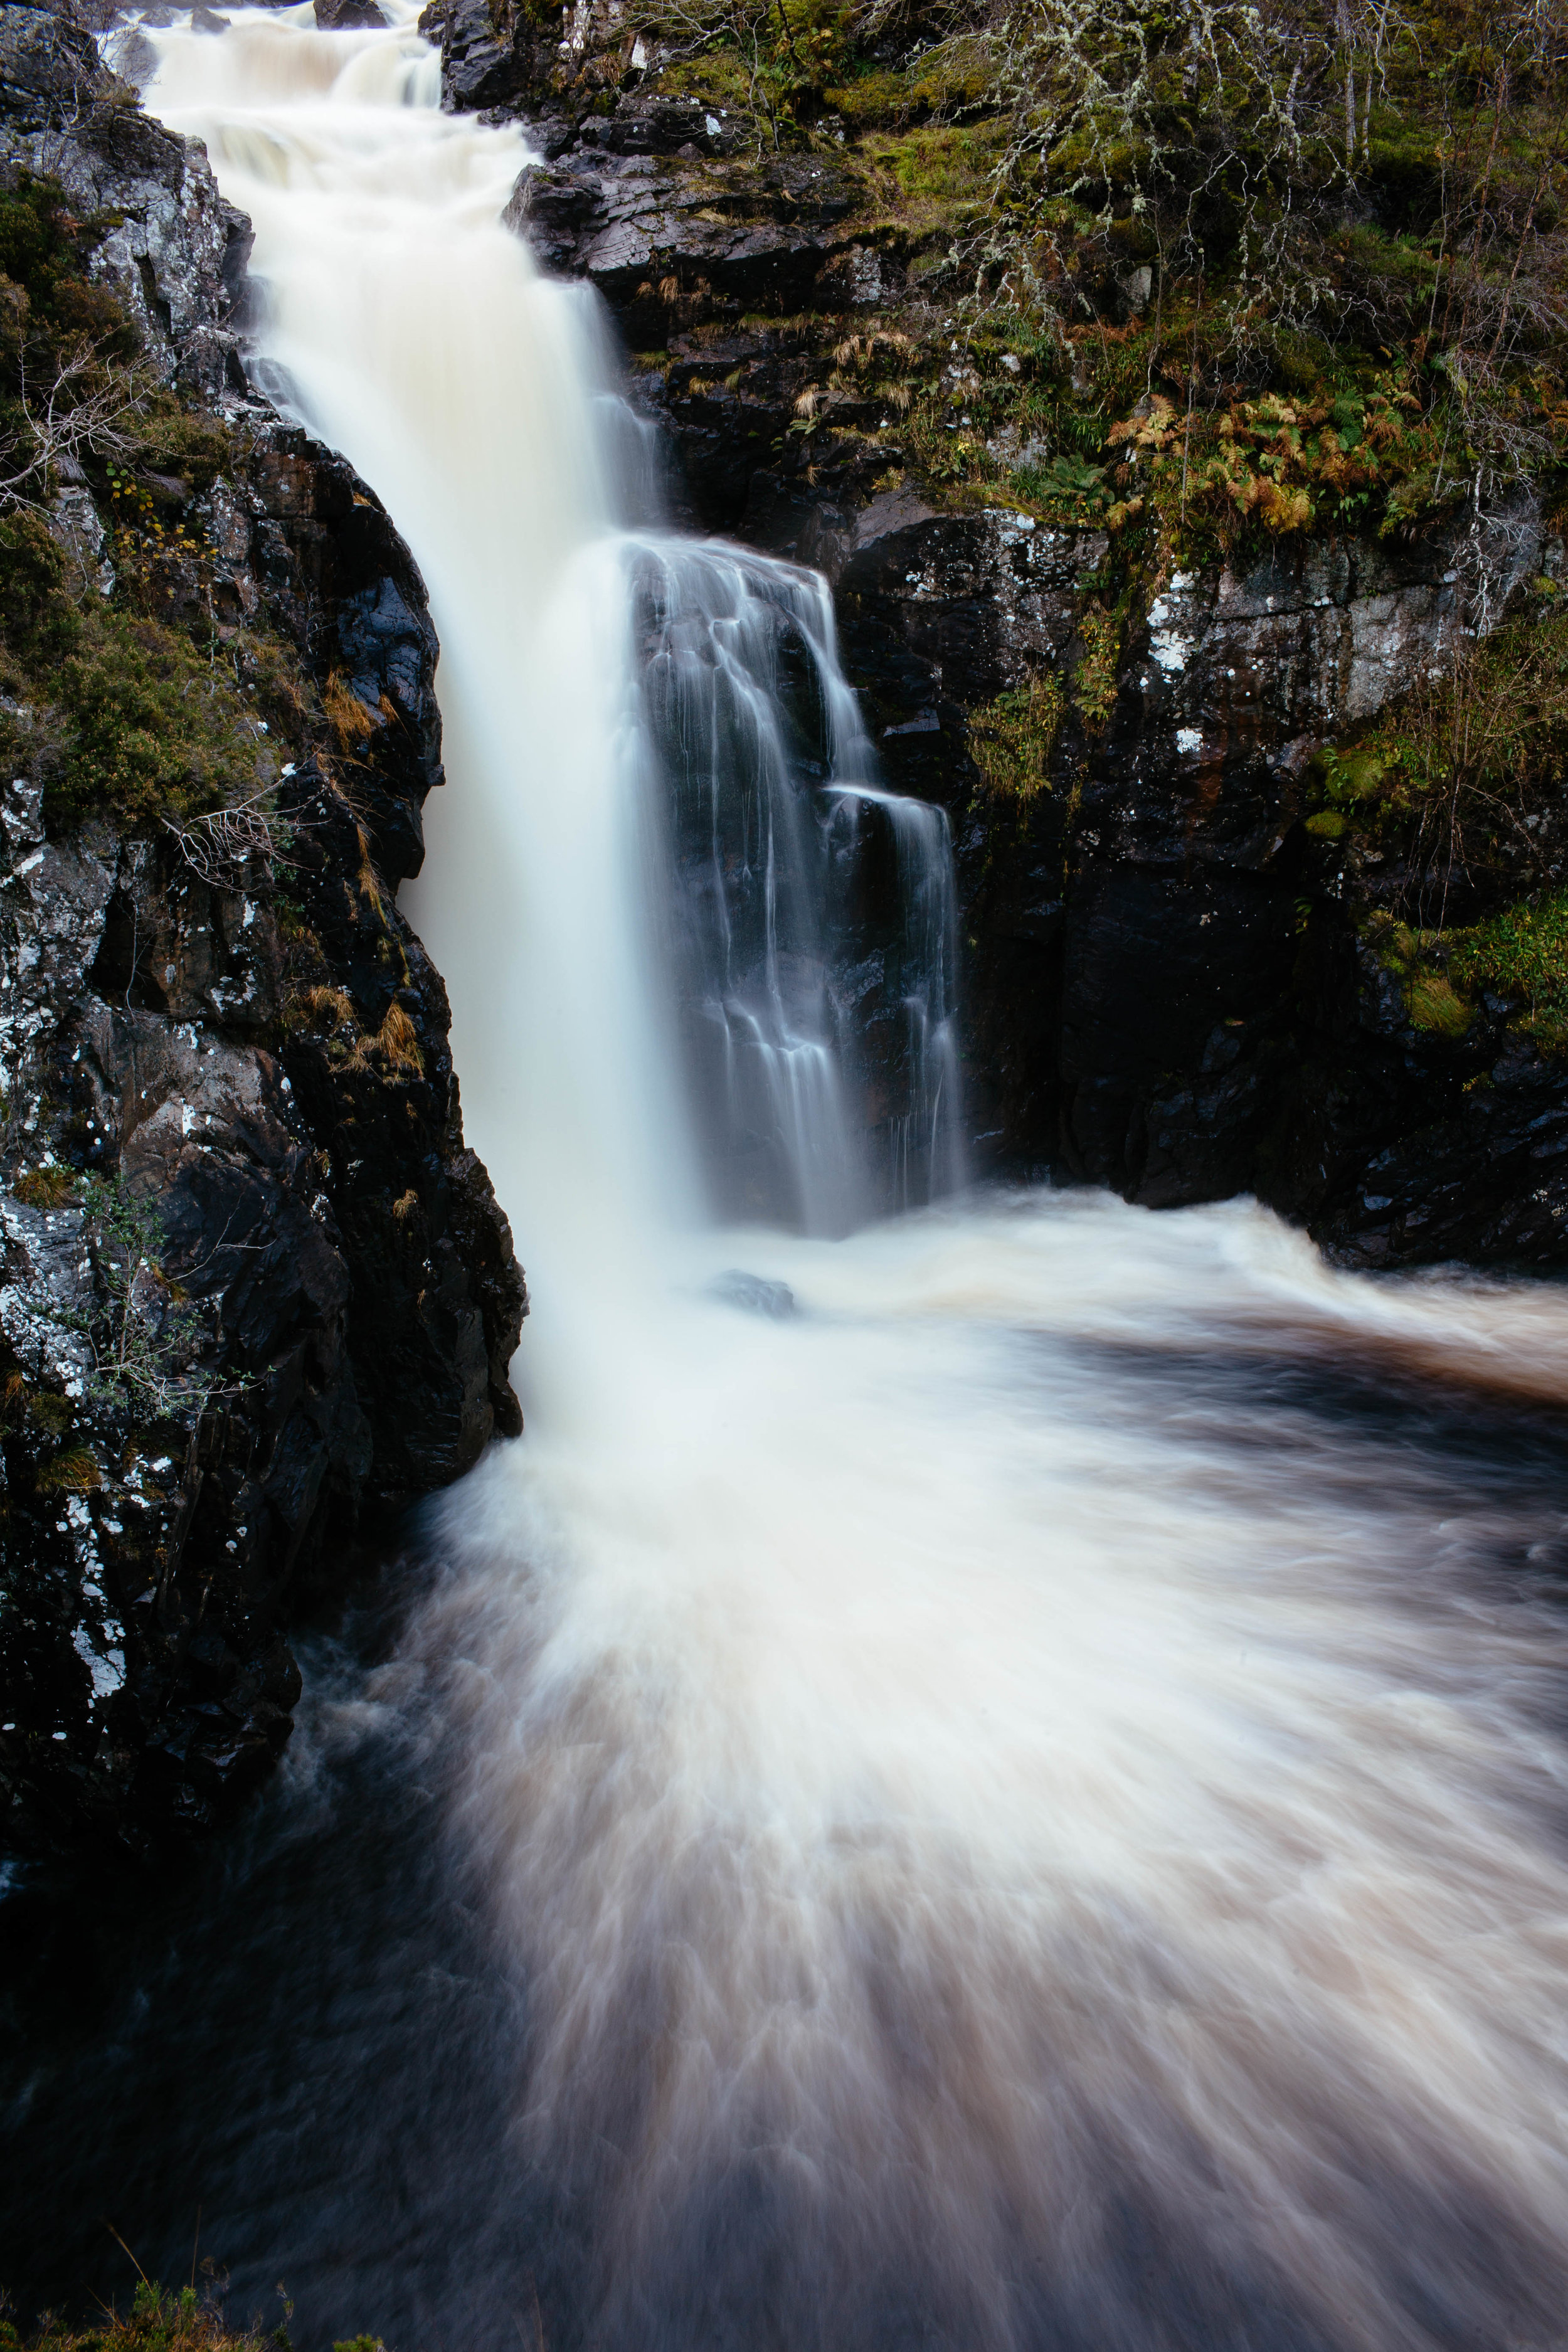
You'll need to change your camera setting to Manual. (If that scares you, watching a quick tutorial video on YouTube for your specific camera will teach you the basics you'll need for this technique!)
Your ISO will usually need to be very low if you are taking photos in the day time. 99% of the time I immediately change my ISO to 100. It just always works.
Your aperture should be high (I usually use f/22) so everything is in focus. "Aperture" is a fancy word for the depth of field in an image, which means the area that is in focus.
High aperture (f/22) = everything is in focus.
Low aperture (f/1.4) = Only 1-2 inches of depth are in focus (great for macro photos or when you want one thing in sharp focus and the background to be blurry).
STABILIZE! Having a way to stabilize the camera is REALLY important. If you have your shutter open for more than 1/30th of a second, camera shake is extremely likely. Even if you THINK you can hold it completely still, trust me... you will have some blur. Just the natural movements of your body / heart beat are enough to move the camera and cause blur.
In order to achieve the desired effect, you'll either need a tripod or a safe place to set the camera while the shutter is open. Even after 20+ photo hiking trips, I STILL naively believe "I won't need the tripod this time..." And every single time, I think "Damn.. look at this beautiful waterfall or river.. I wish I had my tripod!"
So just bring the darn thing! Otherwise, you're left balancing your camera on slippery rocks by the shore, or doing things like this:
1.6 Seconds, f/22, ISO 100
Sure, it might work, but trust me, there's not always somewhere to stabilize for a good angle, and when the ground or rocks are covered in snow, mud, etc., you will be cold, soaked, and not very happy you forgot your tripod!
The more you mess around with settings, you'll find what works for you. Go out and experiment!
2 Seconds, f/22, ISO 100

